
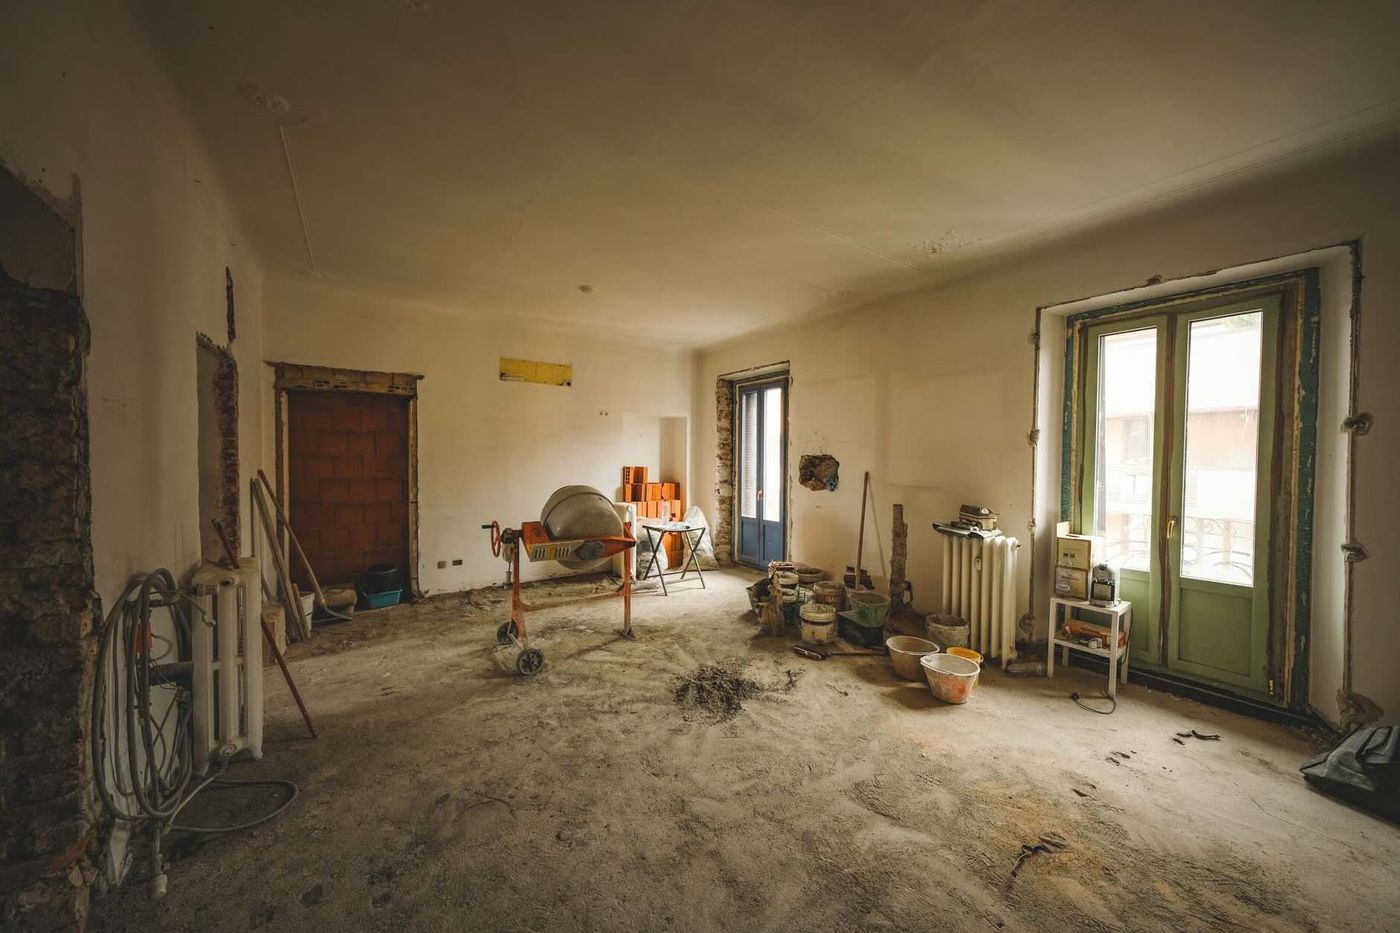
Late fall is when we see the same pattern in town. You close on a place, you’re ready to open up the walls, and then the first cold snap hits and the building starts telling the truth. A hairline stain at a party wall turns into a wet patch after a wind driven rain. A radiator line that “always worked” starts weeping the minute the heat is on 24/7. A 100 amp service that seemed fine for lights and a fridge suddenly looks small once you’re planning induction, electric laundry, and a couple of bath fans that actually vent outside.
If you’re lining up a winter gut, the smartest work happens before demo day. We want to know what’s already compromised so we can detail it correctly, stage protection, and keep winter from turning a clean remodel into a wet, cold mess. This is the stuff we verify on site in Hoboken NJ before we start pulling plaster. If you’re trying to map out timing and sequencing, start with the decisions that make or break a Hoboken full home renovation before demo starts.
Party walls and shared framing: find moisture paths before you open them
Brownstones and a lot of older condos share more than a wall. They share framing pockets, brick wythes, and odd little chases that move air and water. In winter, a small leak can show up as condensation because the interior is warm and the masonry is cold. If we gut without checking, you can end up with damp insulation, mold on the back of drywall, or paint that blisters by February.
We look for efflorescence on brick (white, salty powder), soft plaster at baseboards, and staining that follows mortar joints. We’ll meter suspect areas and we’ll open a few targeted inspection holes where the history is unclear. If the party wall is brick, we pay attention to the condition of the mortar and any patched penetrations, old flue cleanouts, abandoned conduit, that sort of thing.
A specific detail we plan around: interior dew point. If you’re keeping the place at 68 to 70°F and it’s 25 to 35°F outside, uninsulated masonry stays cold. That’s when warm interior air finds a crack and drops water. We air seal first, then insulate in a way that doesn’t trap bulk water.
Roof edges, parapets, and window heads: stop winter leaks that show up after demo
A winter gut is unforgiving because you lose the “buffer” layers. Old plaster and multiple paint coats hide slow leaks. Once we open ceilings and window returns, the same leak can run free and soak framing.
On attached buildings, parapets and roof edges are repeat offenders. We look for failed counterflashing, open mortar joints at coping stones, and staining at the top floor ceiling line. If there’s a roof hatch, we check the curb. If there are through wall scuppers, we look for corrosion and staining on the interior side.
At windows we check the head condition. A lot of older openings rely on a paint bead and hope. We look for cracked lintel angles, missing drip edges, and sills that pitch back toward the room. A simple check is a level on the sill. If it’s dead flat or pitched in, water sits.
During planning we call out how openings get protected once demo starts. That means temporary poly and taped seams on the inside, and a real exterior water management detail, not just a tarp flapping in the wind. If you’re doing this work in cold months, keeping a Hoboken full home renovation dry and heated through winter work is the playbook.
Steam and hydronic heat lines: verify what’s live before you cut anything
Once the heat is running full time, weak points show up. In these buildings it’s common to find steam risers, hydronic supply and return lines, and radiator runouts tucked in chases that aren’t obvious until a wall is open.
Before we gut, we identify the system type. Steam has its own rules. Pitch matters. Traps fail. A sagging return can hold water and hammer. Hydronic has different failure modes, like pinhole leaks in old copper and bad valves that won’t fully shut.
We map radiator locations, measure pipe diameters, and trace where lines drop or rise. We also look for unions and shutoffs that are seized. If the only shutoff is in the basement and it hasn’t moved in 20 years, we plan for that. If the building has shared risers, we coordinate so no one loses heat because a line got cut by surprise.
One cold weather specific: any line in an exterior wall is a freeze risk once insulation is disturbed. If we open a wall and the heat is off overnight, a 1/2 inch copper line can freeze and split fast. We plan temporary heat, and we don’t leave piping exposed to exterior cavities.
Electrical service limits and panel condition: plan around what the building can feed
A full gut almost always changes the electrical load. Modern kitchens and baths add draw. So do heat pump systems, tankless water heaters, and even a couple of dedicated circuits for laundry and countertop appliances.
We check the service size and the panel condition before demo. In older units we still see 60 amp and 100 amp services, and panels with no main disconnect, double tapped breakers, or a mess of tandem breakers stuffed to make room. We also look for aluminum branch wiring from the 1960s and 1970s, and for knob and tube remnants in the oldest stock. Those aren’t things you want to “discover” after walls are down and the schedule is tight.
A concrete check we do: panel labeling versus reality. We’ll shut off a breaker and verify what actually dies. If a bedroom circuit is feeding half the kitchen and a bath light, we want that known early.
If the building is a condo, we also confirm what’s allowed for meter upgrades and where new feeders can run. Some buildings limit penetrations through rated corridors, and that affects routing.
Old framing and flat floors: confirm structure before new tile, cabinets, and doors
You can make an old place look new, but you can’t ignore what’s underneath. A winter gut is the time to deal with framing that’s undersized, notched, or sagging.
We check joist direction, span, and bearing. In brownstones, you’ll often see joists pocketed into masonry. We probe pockets for rot where moisture has been sitting. Around old chimneys and plumbing stacks, we look for hacked framing, joists cut for pipes, and doubled members that were never actually fastened together.
A specific that matters for finishes: tile wants stiffness. If we’re setting large format porcelain, we’re looking for a subfloor that’s solid and flat. We’ll measure floor variation with a straightedge. If we see more than 1/4 inch over 10 feet, we plan leveling before tile and before cabinets get set. Doors are another tell. If door heads are out of level, the floor is telling you something.
We also look at stairs. Loose treads and squeaks can be stringer movement. It’s easier to fix before new drywall goes up and before winter humidity swings start working the joints.
Basement and crawl conditions: track water, salts, and air that rides up the building
Even if your work is on an upper floor, the basement can make or break comfort. Damp air moves up. Stack effect is strong in winter, warm air rises and pulls basement air behind it.
We look for standing water, active seepage at the slab edge, and efflorescence on foundation walls. If we see flaking paint and white salt deposits, that’s moisture movement through masonry. We check sump operation if there is one, and we look at discharge routing. A frozen discharge line in January can turn a working sump into a flooded basement fast.
We also pay attention to mechanical venting. If the boiler or water heater is naturally drafted, we look at the flue and combustion air. Tightening a house without planning that can backdraft appliances. That’s a safety issue.
A specific check we do in late fall: exterior hose bibs and any piping near rim joists. If those areas are uninsulated and you’re opening walls above, you can change how cold air moves through the building. We plan air sealing at the rim and proper insulation, not just stuffing fiberglass into a gap.
Fire and sound assemblies in attached buildings: keep ratings intact during a gut
A gut remodel changes layers that were doing real work, even if no one talked about them. In attached buildings, assemblies often need to meet a fire rating, and neighbors care about sound once the walls are open.
We look at what’s there. Old plaster on wood lath can perform better for fire and sound than thin drywall, but once it’s gone you have to rebuild that performance intentionally. Party walls may be masonry, but penetrations are where problems happen, recessed boxes, pipe chases, and old abandoned holes.
On floors and ceilings, we check what the building expects for separation. A common rebuild detail is 5/8 inch Type X drywall where a rated layer is required, plus proper firestopping at penetrations with listed materials (not foam from a hardware store). If we’re doing a dropped ceiling, we plan access panels so valves and junctions are reachable without cutting holes later.
Sound is part of quality. We’ll talk through insulation type in cavities, resilient channels where appropriate, and how we handle gaps at floor edges. A 1/4 inch gap left open at a party wall can whistle air and carry sound. We seal it.
Key Takeaways
- Efflorescence and soft plaster at a party wall usually means moisture movement, not a paint problem.
- Parapet flashing, coping joints, and window head details are where winter leaks often show up after ceilings come down.
- Steam and hydronic lines need to be mapped before demo, exposed piping in exterior walls can freeze fast if heat drops.
- Panel labeling is often wrong in older units, we verify circuits before walls are opened.
- Tile and cabinets demand flat, stiff floors, we measure variation (1/4 inch over 10 feet is a red flag).
- Firestopping and 5/8 inch Type X details matter in attached buildings once plaster is removed.
Conclusion
If you’re planning a winter gut, the win is fewer surprises once the walls are open and the heat is running hard. Our approach is to treat the building like a system. Water gets in somewhere, air moves somewhere, and old piping and wiring do not care that you have new finishes picked out.
Before we start swinging hammers, we want eyes on the party walls, the roof edges, the window heads, the heating lines, and the service feeding the place. Then we can build the right protection and details into the plan and keep your full home remodel moving clean through winter. If you want us to take a look, we’ll walk it with you and tell you what we’re seeing, plain language, no guessing. If you’re still deciding on logistics, can we live at home during a whole house remodel in Hoboken is worth reading.
References
- NFPA (National Fire Protection Association), National Electrical Code (NFPA 70)
- ASHRAE standards and guidelines for HVAC and ventilation
- NOAA (National Oceanic and Atmospheric Administration) weather data and forecasts
- National Roofing Contractors Association (NRCA)
- U.S. Department of Energy (DOE), Weatherization Assistance Program and energy efficiency guidance